ceat-speciality:blogs-tags/all,ceat-speciality:blogs-tags/equipment
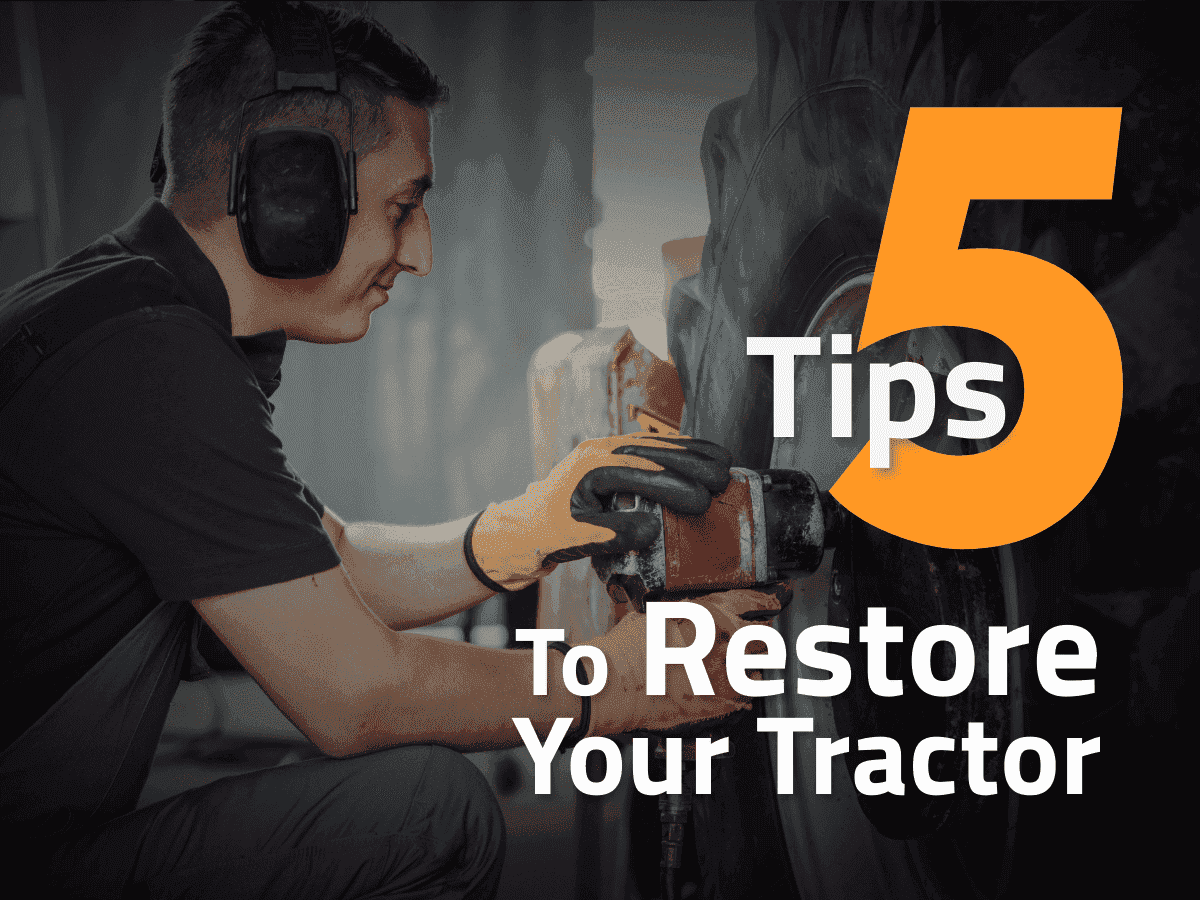
5 Tips for Restoring Your Tractor
Tue, 11 Feb 2025 | PRODUCTS
Tractors are more than just machines; they're often a symbol of heritage, hard work, and rural life. Restoring a classic tractor can be a rewarding experience, bringing a piece of history back to life. But it's a project that requires careful planning, dedication, and a bit of know-how.
This blog post outlines five essential tips to guide you through the tractor restoration process, ensuring a successful and satisfying outcome.
1. Start with a Thorough Inspection
The first step in any tractor restoration is a comprehensive inspection. A detailed assessment of your tractor's overall condition is essential to identify both the visible and hidden issues.
- Evaluate the Tractor's Condition
Carefully inspect every component of the tractor. Note any rust, damage, missing parts, or areas of significant wear. Take detailed photographs and make a comprehensive inventory. This assessment will determine the scope of the restoration and help you prioritize tasks.
- Define Your Goals
What do you envision for the restored tractor? Will it be a showpiece, a working machine, or a combination of both? Defining your goals will influence the level of detail and authenticity you aim for. A working tractor might require more emphasis on mechanical reliability, while a show tractor might prioritize cosmetic perfection.
- Set a Budget
Restoring a tractor can be expensive. Establish a realistic budget early on and stick to it as closely as possible. Unexpected costs are common, so it's wise to include a contingency fund. Prioritize essential repairs over cosmetic enhancements if budget is a concern.
- Create a Timeline
Restoration projects often take longer than anticipated. Develop a realistic timeline, breaking down the project into manageable phases. This will help you stay organised and motivated. Consider factors such as parts availability, weather conditions, and your own time constraints.
- Research and Gather Information
Gather as much information as possible about your specific tractor model. Look for workshop manuals, parts catalogues, online forums, and restoration guides. Connecting with other tractor enthusiasts can provide valuable insights and support.
2. Mechanical Repair
A beautifully restored tractor is nothing without a sound mechanical foundation. Addressing the engine, transmission, and other mechanical components is paramount.
- Engine Rebuilding
If the engine is in poor condition, a complete rebuild might be necessary. This involves disassembling the engine, inspecting each component, and replacing worn or damaged parts. Consider consulting with a professional engine mechanic if you lack experience in this area.
- Transmission and Drivetrain
Inspect the transmission, differential, and other drivetrain components for wear or damage. Replace any worn gears, bearings, or seals. Ensure that all moving parts are properly lubricated.
- Electrical System
The electrical system is often neglected in older tractors. Check the wiring, lights, and other electrical components for damage or corrosion. Replace any faulty wiring or components to ensure safe and reliable operation.
- Hydraulic System
If your tractor has a hydraulic system, inspect it for leaks or other issues. Replace any worn hoses or seals. Ensure that the hydraulic system is functioning correctly.
- Tyres
Tyres are a crucial part of a tractor's performance and appearance. Consider replacing old or worn tyres with new ones that are appropriate for the tractor's intended use. CEAT Specialty offers a wide range of tractor tyres designed for various applications. Choosing the right tyre size, tread pattern, and load capacity is essential for optimal performance and safety.
3. Clean and Remove Corrosion
Cleaning and removing rust are crucial steps in the restoration process. The build-up of dirt, oil, and grime on the exterior parts of the tractor can cause premature wear and corrosion, especially if left untreated. Additionally, old tractors often accumulate significant amounts of rust that can affect their functionality and aesthetic appeal.
- Rust Removal
Rust can be a significant issue when restoring an old tractor. There are various methods to remove rust, including using a wire brush, sandpaper, or a chemical rust remover. For larger areas, consider using an abrasive blaster to remove the rust more efficiently. Once you’ve removed the rust, apply a protective coating to prevent it from coming back.
- Clean the Wheels and Tyres
Don’t forget the tyres during the restoration process. Cleaning the wheels and tyres is vital for both their longevity and functionality. Look for cracks or signs of wear in the tyre tread. Depending on the condition, you may need to replace the tyres with new ones, especially if they are damaged.
- Body Repair
Repair any dents, dings, or other damage to the body panels. Use body filler or welding techniques to restore the original shape.
- Priming and Painting
Proper priming is essential for a long-lasting paint job. Apply several coats of primer, sanding between each coat. Choose a high-quality paint that matches the original colour of the tractor. Apply several thin coats of paint for a smooth and even finish.
- Sticky Labels and Badges
Replace any missing or damaged sticky label and badges. These small details can make a big difference in the overall appearance of the restored tractor.
4. Replace Worn-Out Parts
As you inspect your tractor, you may find several worn-out or damaged parts that need replacing. Identifying these issues early can save you time and money in the long run.
Worn-out belts and hoses can cause a variety of issues. Make sure to replace any cracked or frayed belts and check the hoses for leaks. It’s also worth replacing old fuel lines and air filters that can get clogged or deteriorate over time.
5. Reassembly and Testing
After the individual components are restored, it's time to reassemble the tractor.
- Careful Reassembly
Follow the workshop manual carefully during reassembly. Ensure that all parts are properly installed and tightened.
- Testing and Adjustments
Once the tractor is reassembled, test all systems thoroughly. Check the engine, transmission, brakes, and other components to ensure they are functioning correctly. Make any necessary adjustments.
Additionally, choosing the right tyres is crucial for your tractor's performance, handling, and safety. CEAT Specialty offers a wide range of high-quality tyres specifically designed for agricultural machinery. With durable and reliable tyres, you can ensure that your restored tractor operates at its best. Patience and attention to detail are key to a successful restoration, and with CEAT Specialty by your side, you’ll have the right tyres to complement all your hard work. Happy restoring!


